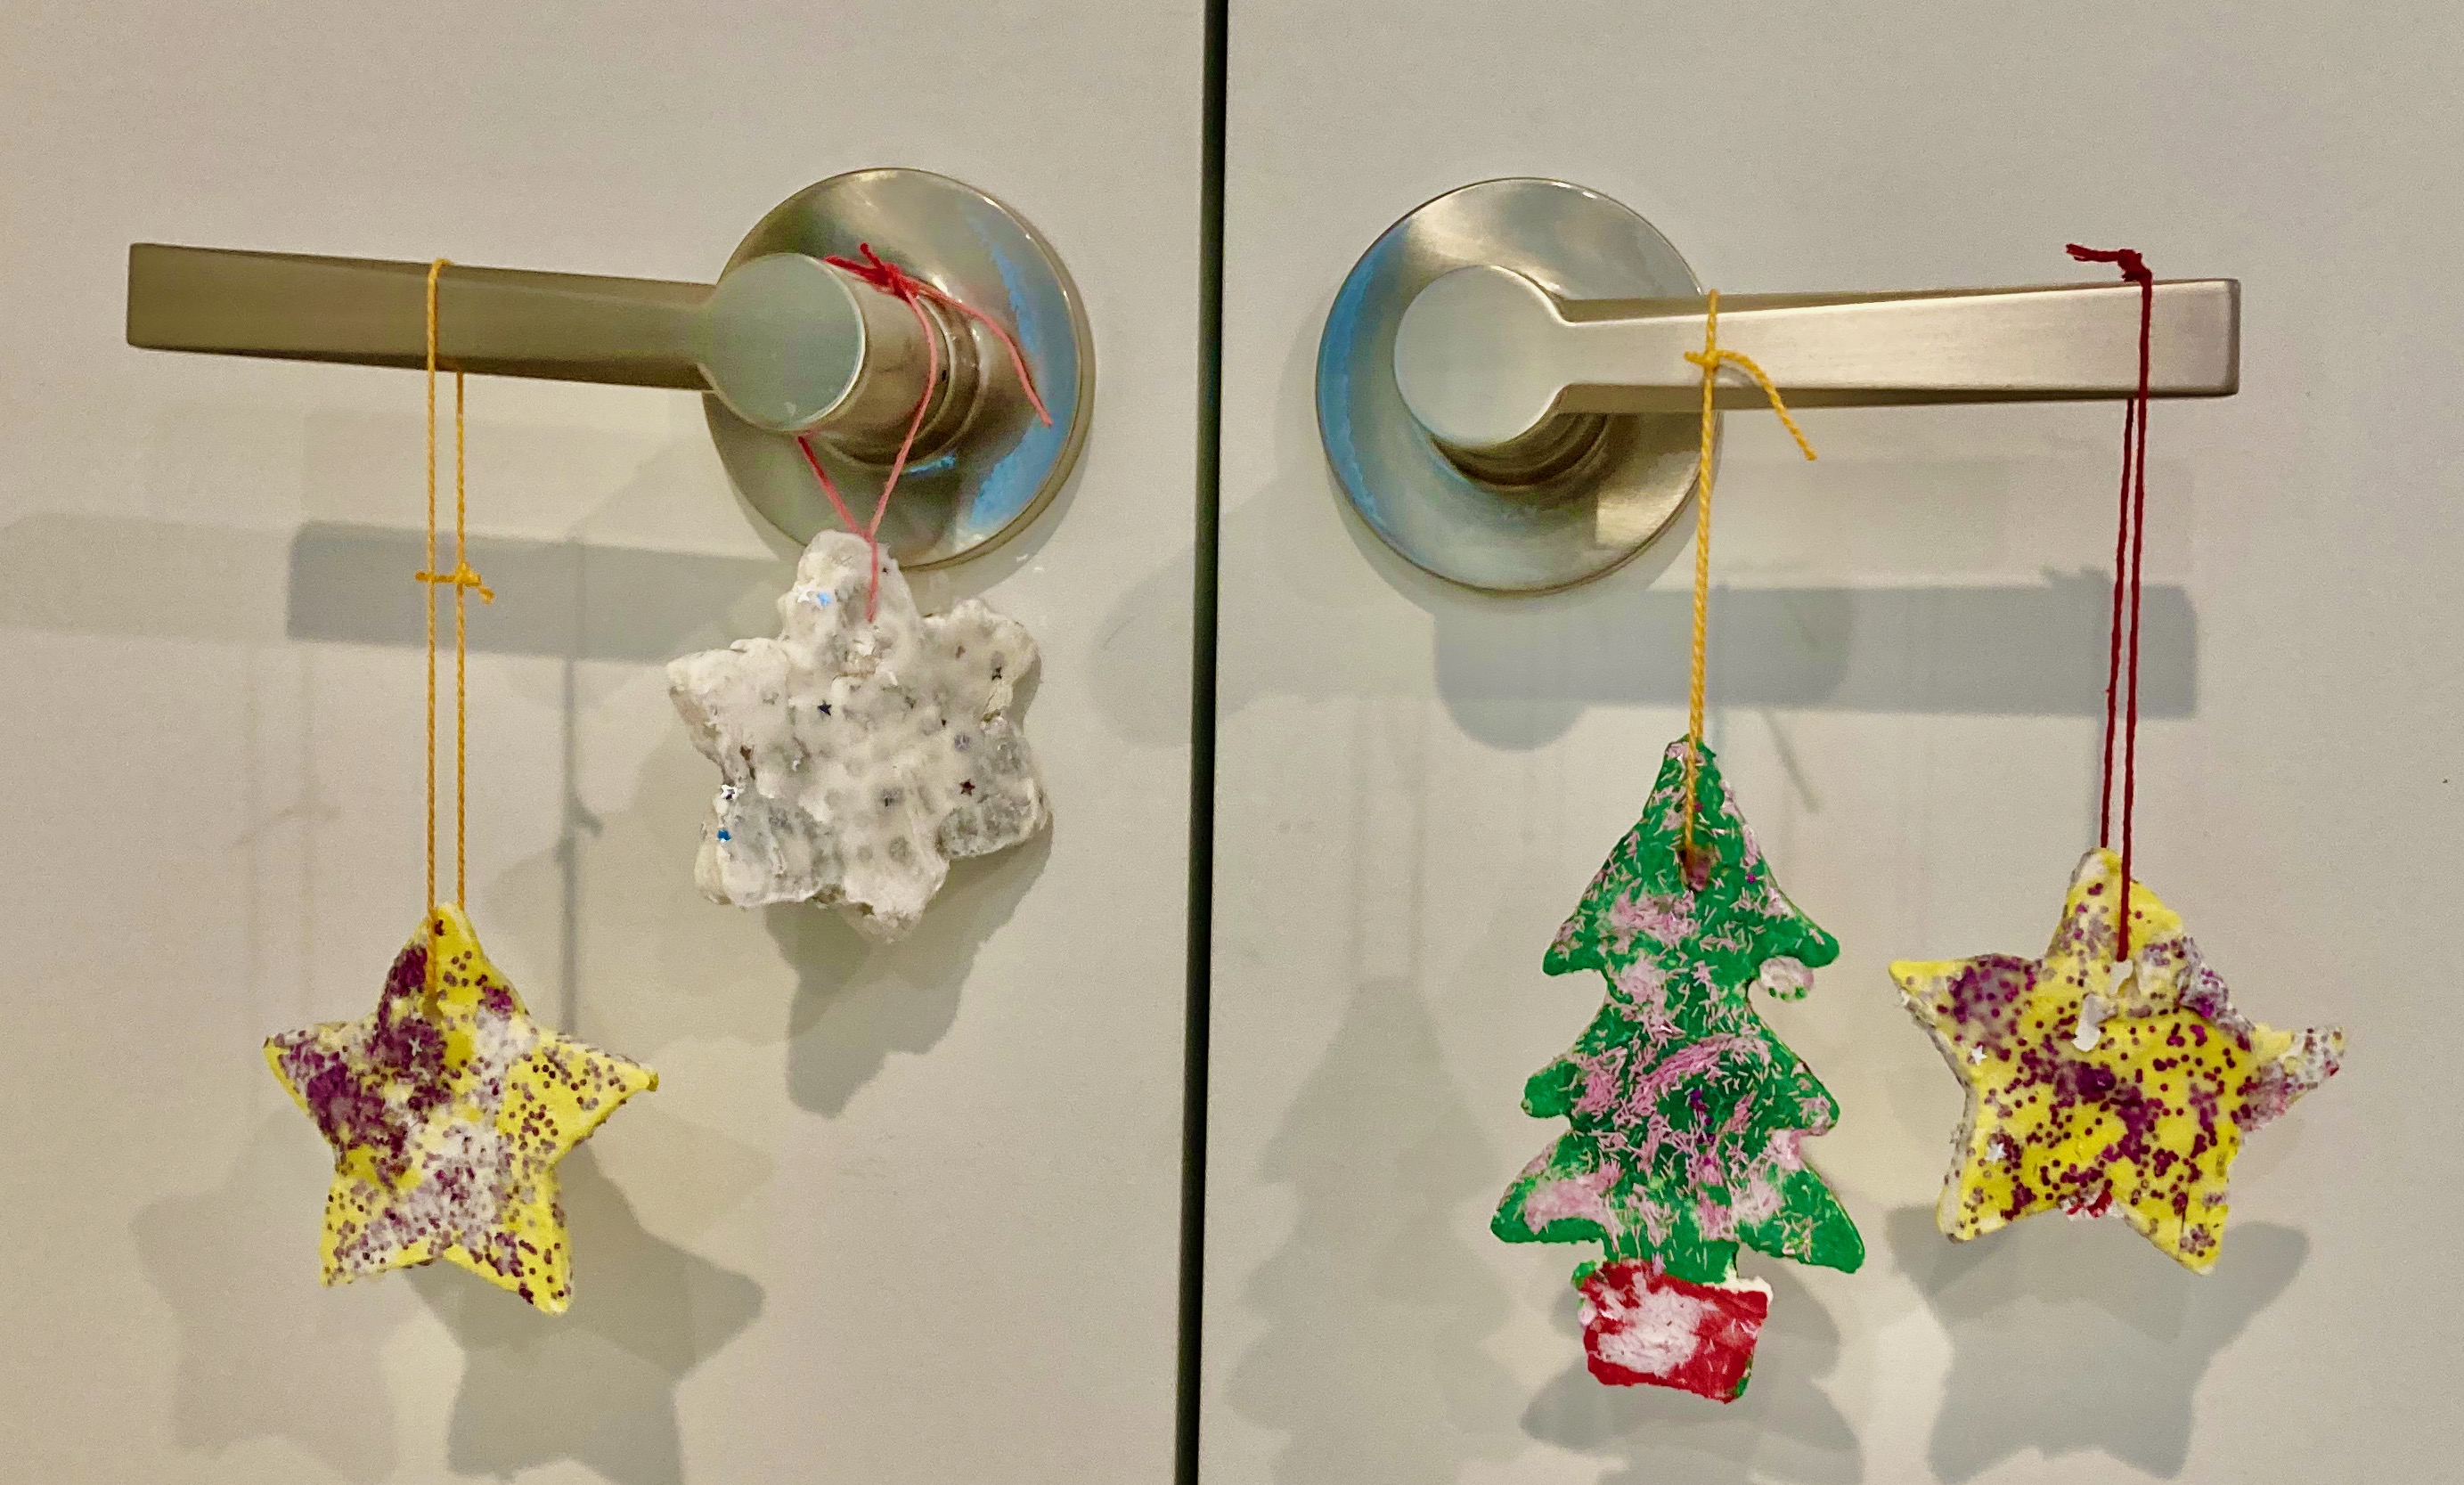
Salt dough Decorations
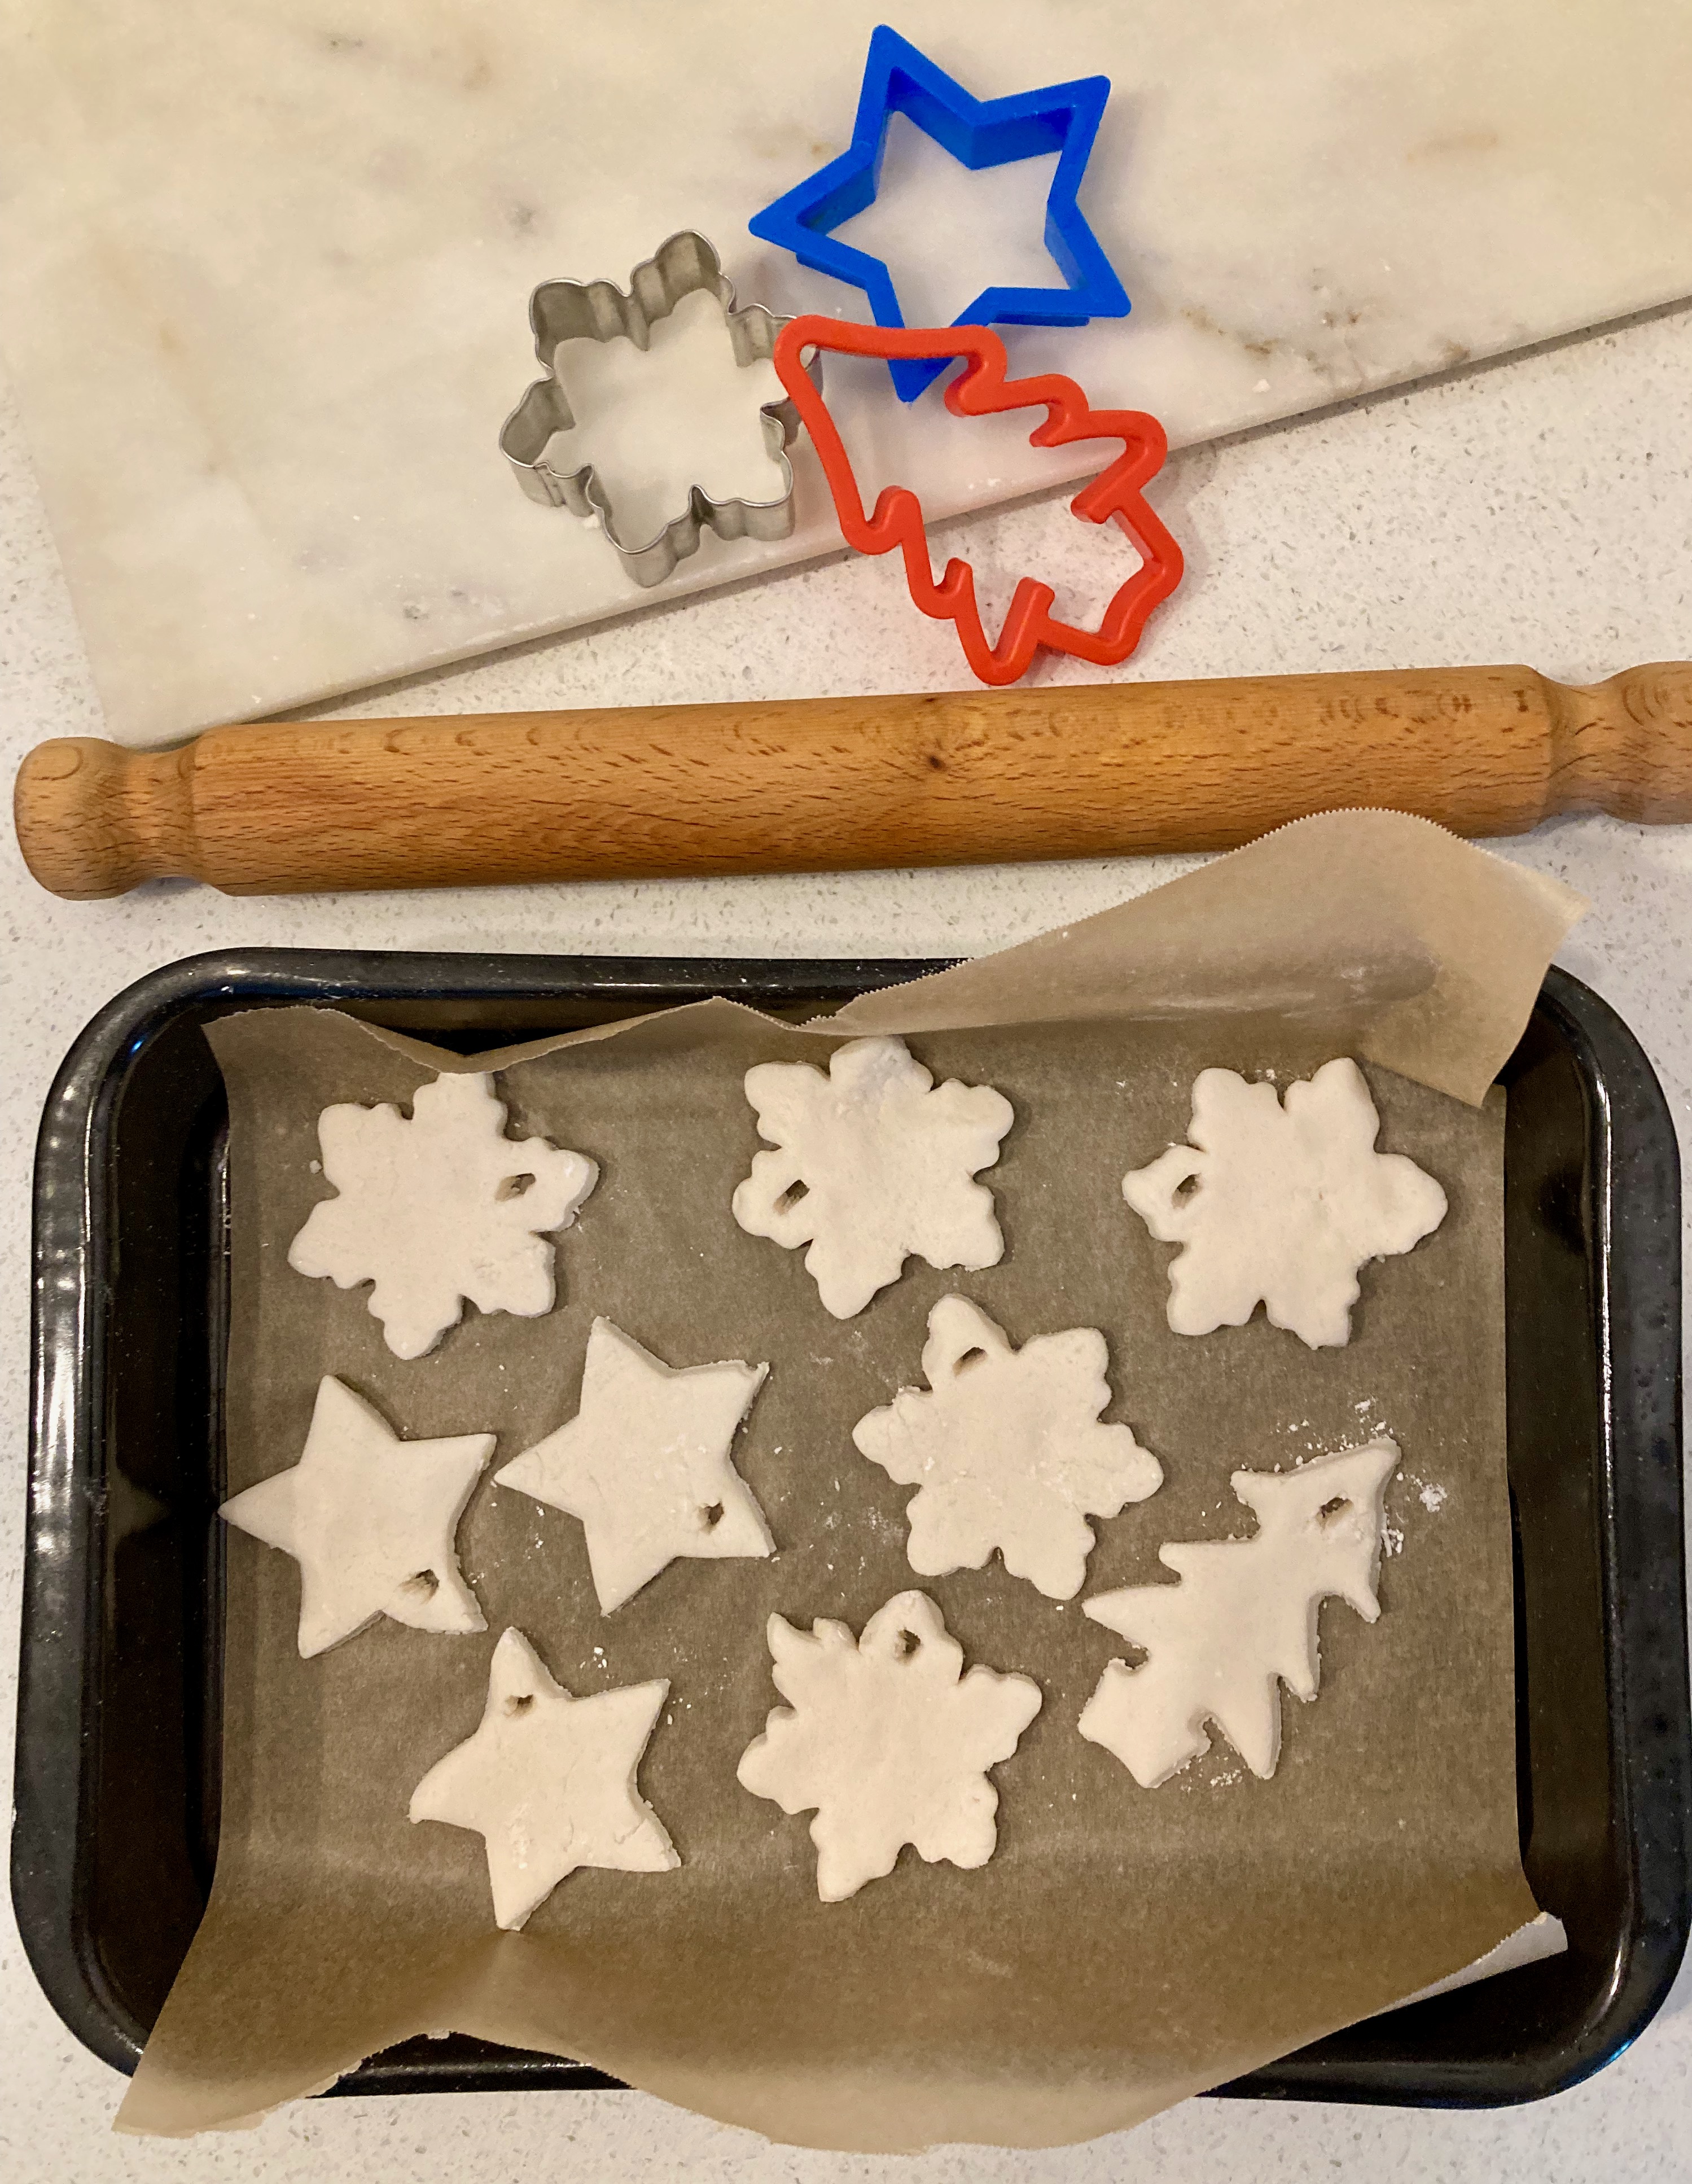
Last week we made salt dough decorations using flour, salt and water and biscuit cutters.
You can find our Air dry salt dough recipe here.
Top Tips when making Air dry Salt dough:
-
The thinner you roll out your dough, the quicker it will air dry.
-
If you want to make hanging ornaments, make a hole in the dough while it is still wet with a cocktail stick. You may need to re-pierce the hole a few times while the dough is air drying.
-
Place the dough shapes on parchment paper to air dry for 3 or 4 days. Turn the shapes over twice a day to speed up the drying process.
When the dough shapes were completely dry, we decorated both sides with tempera paint.
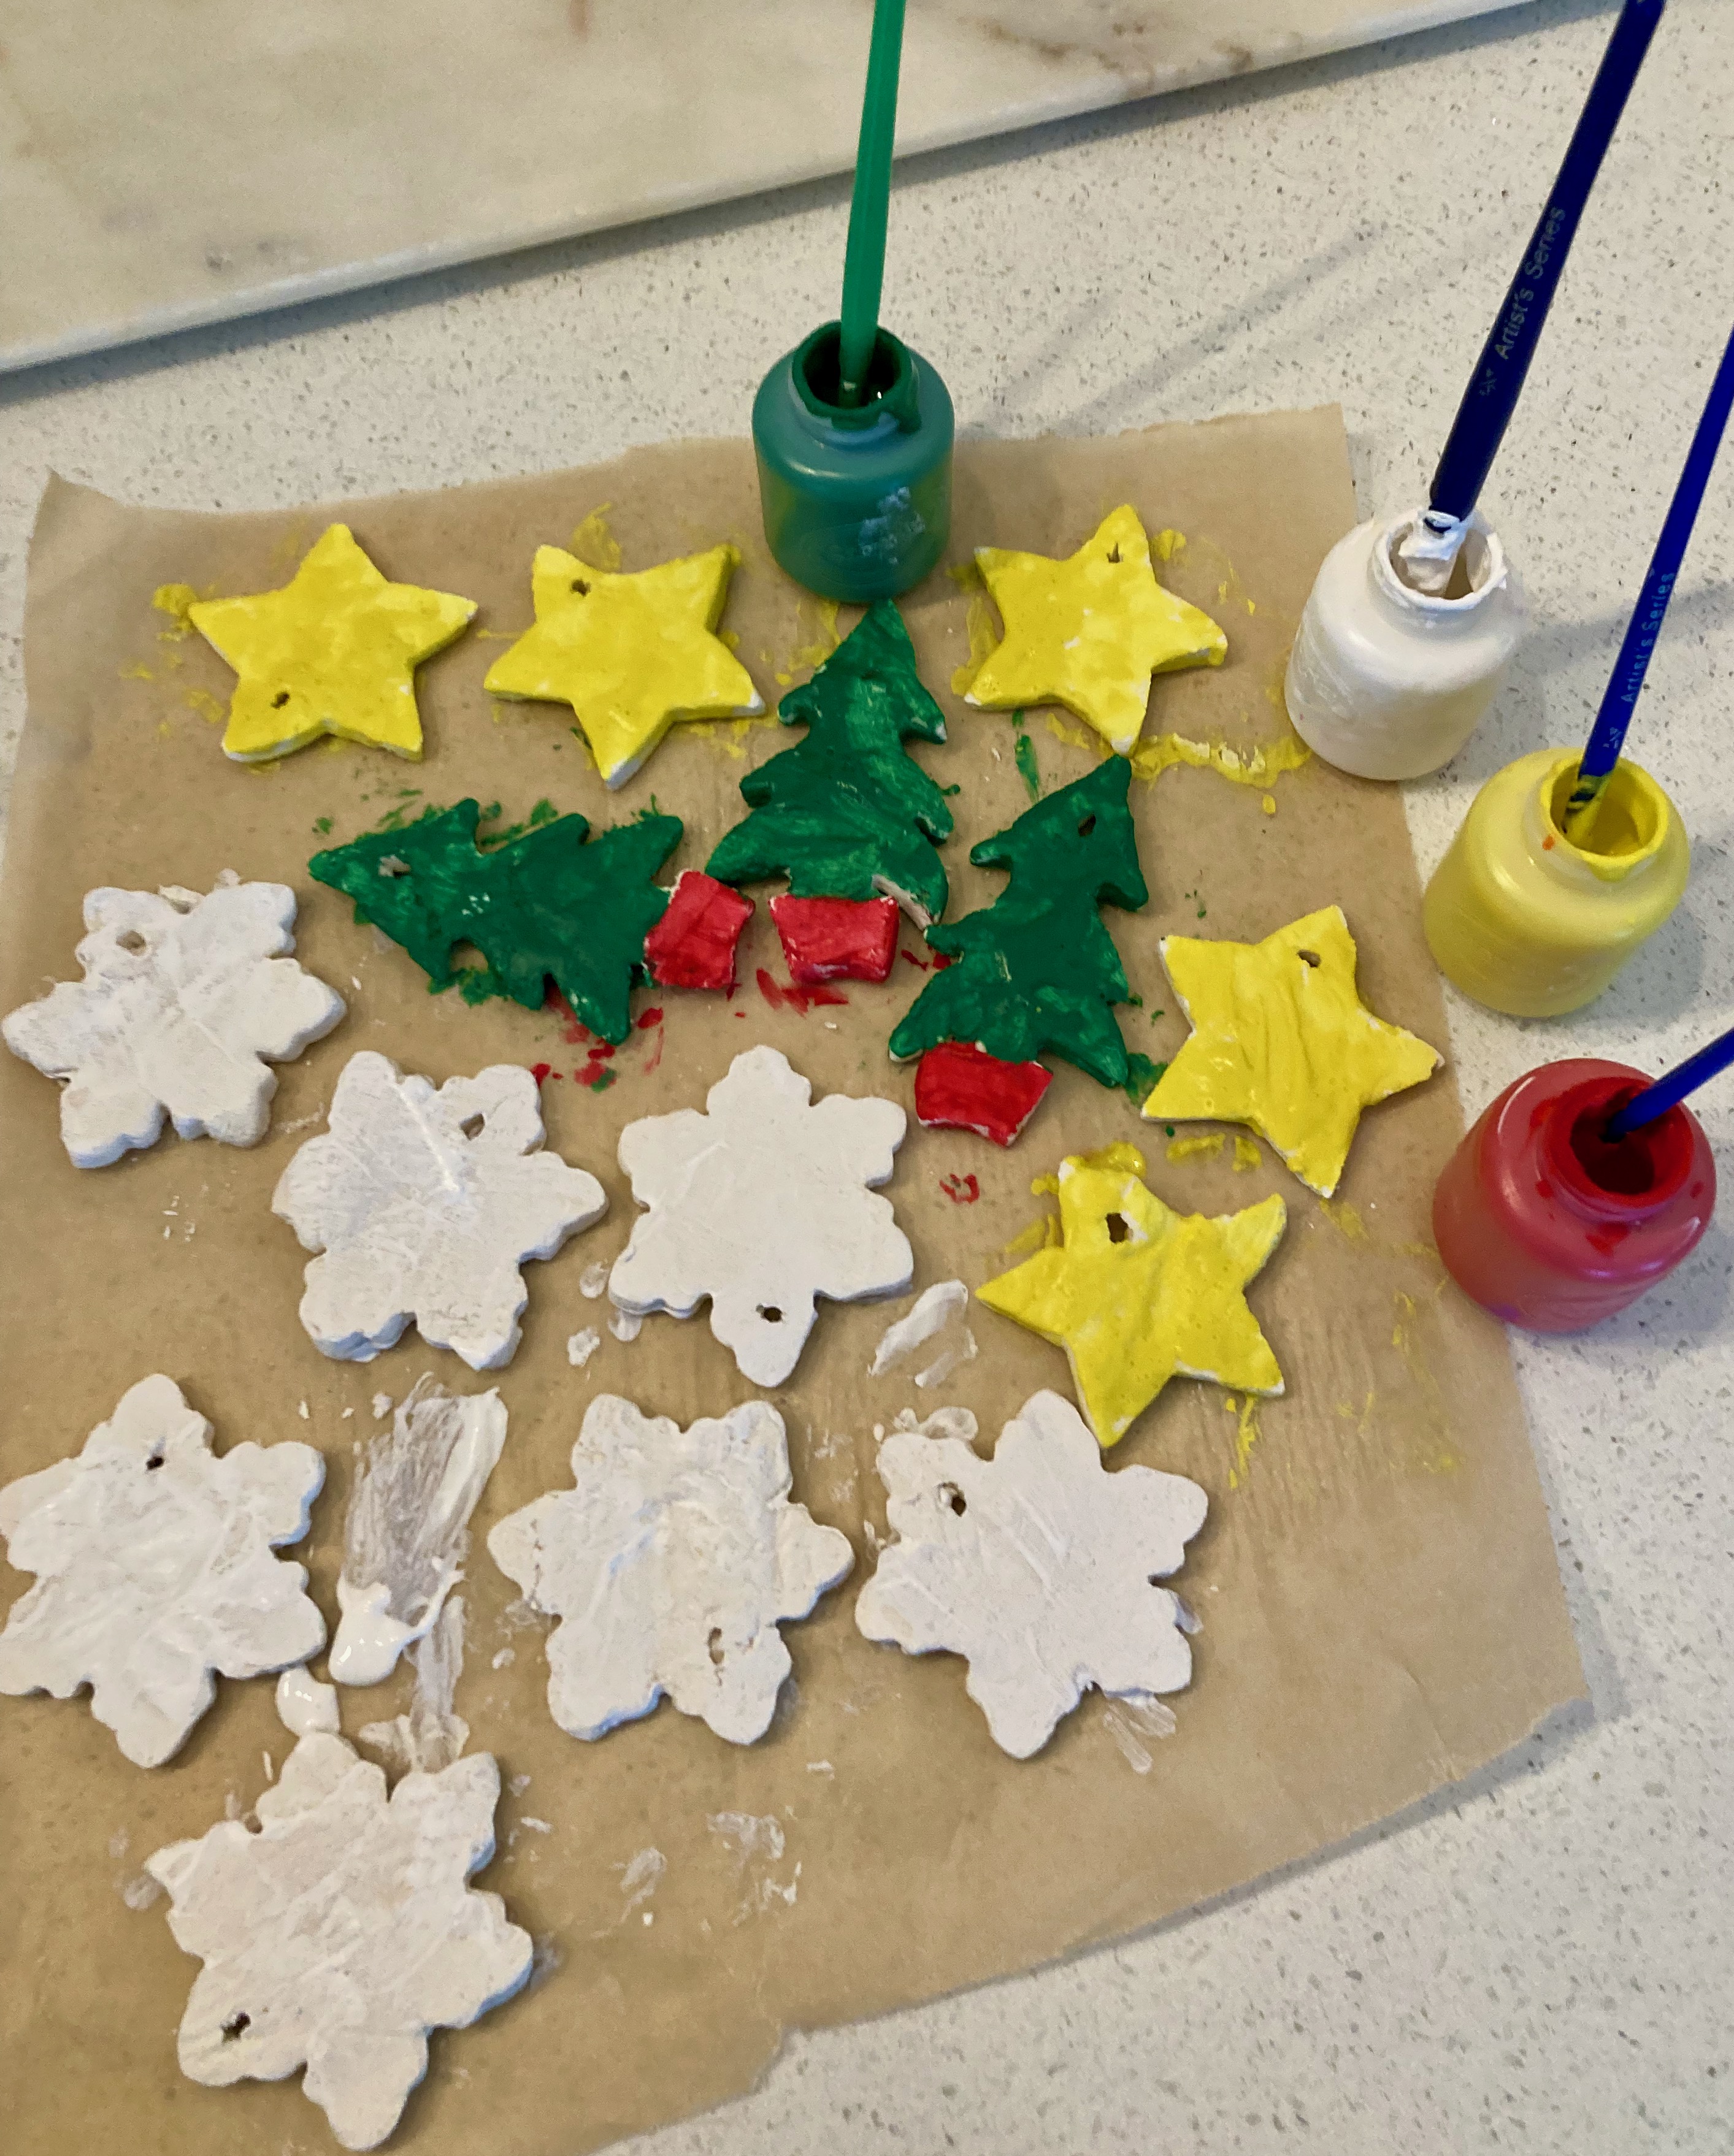
We painted one side of each decoration first, left it to dry, then turned it over to paint the other side.
When the paint was dry, we painted both sides of each decoration with a mixture of white glue and glitter. (The glue dries clear and helps to seal and glaze the dough, the glitter adds sparkle).
- Mixing white glue and glitter into the paint seals and glazes the dough in the same way and makes the decorating process quicker.
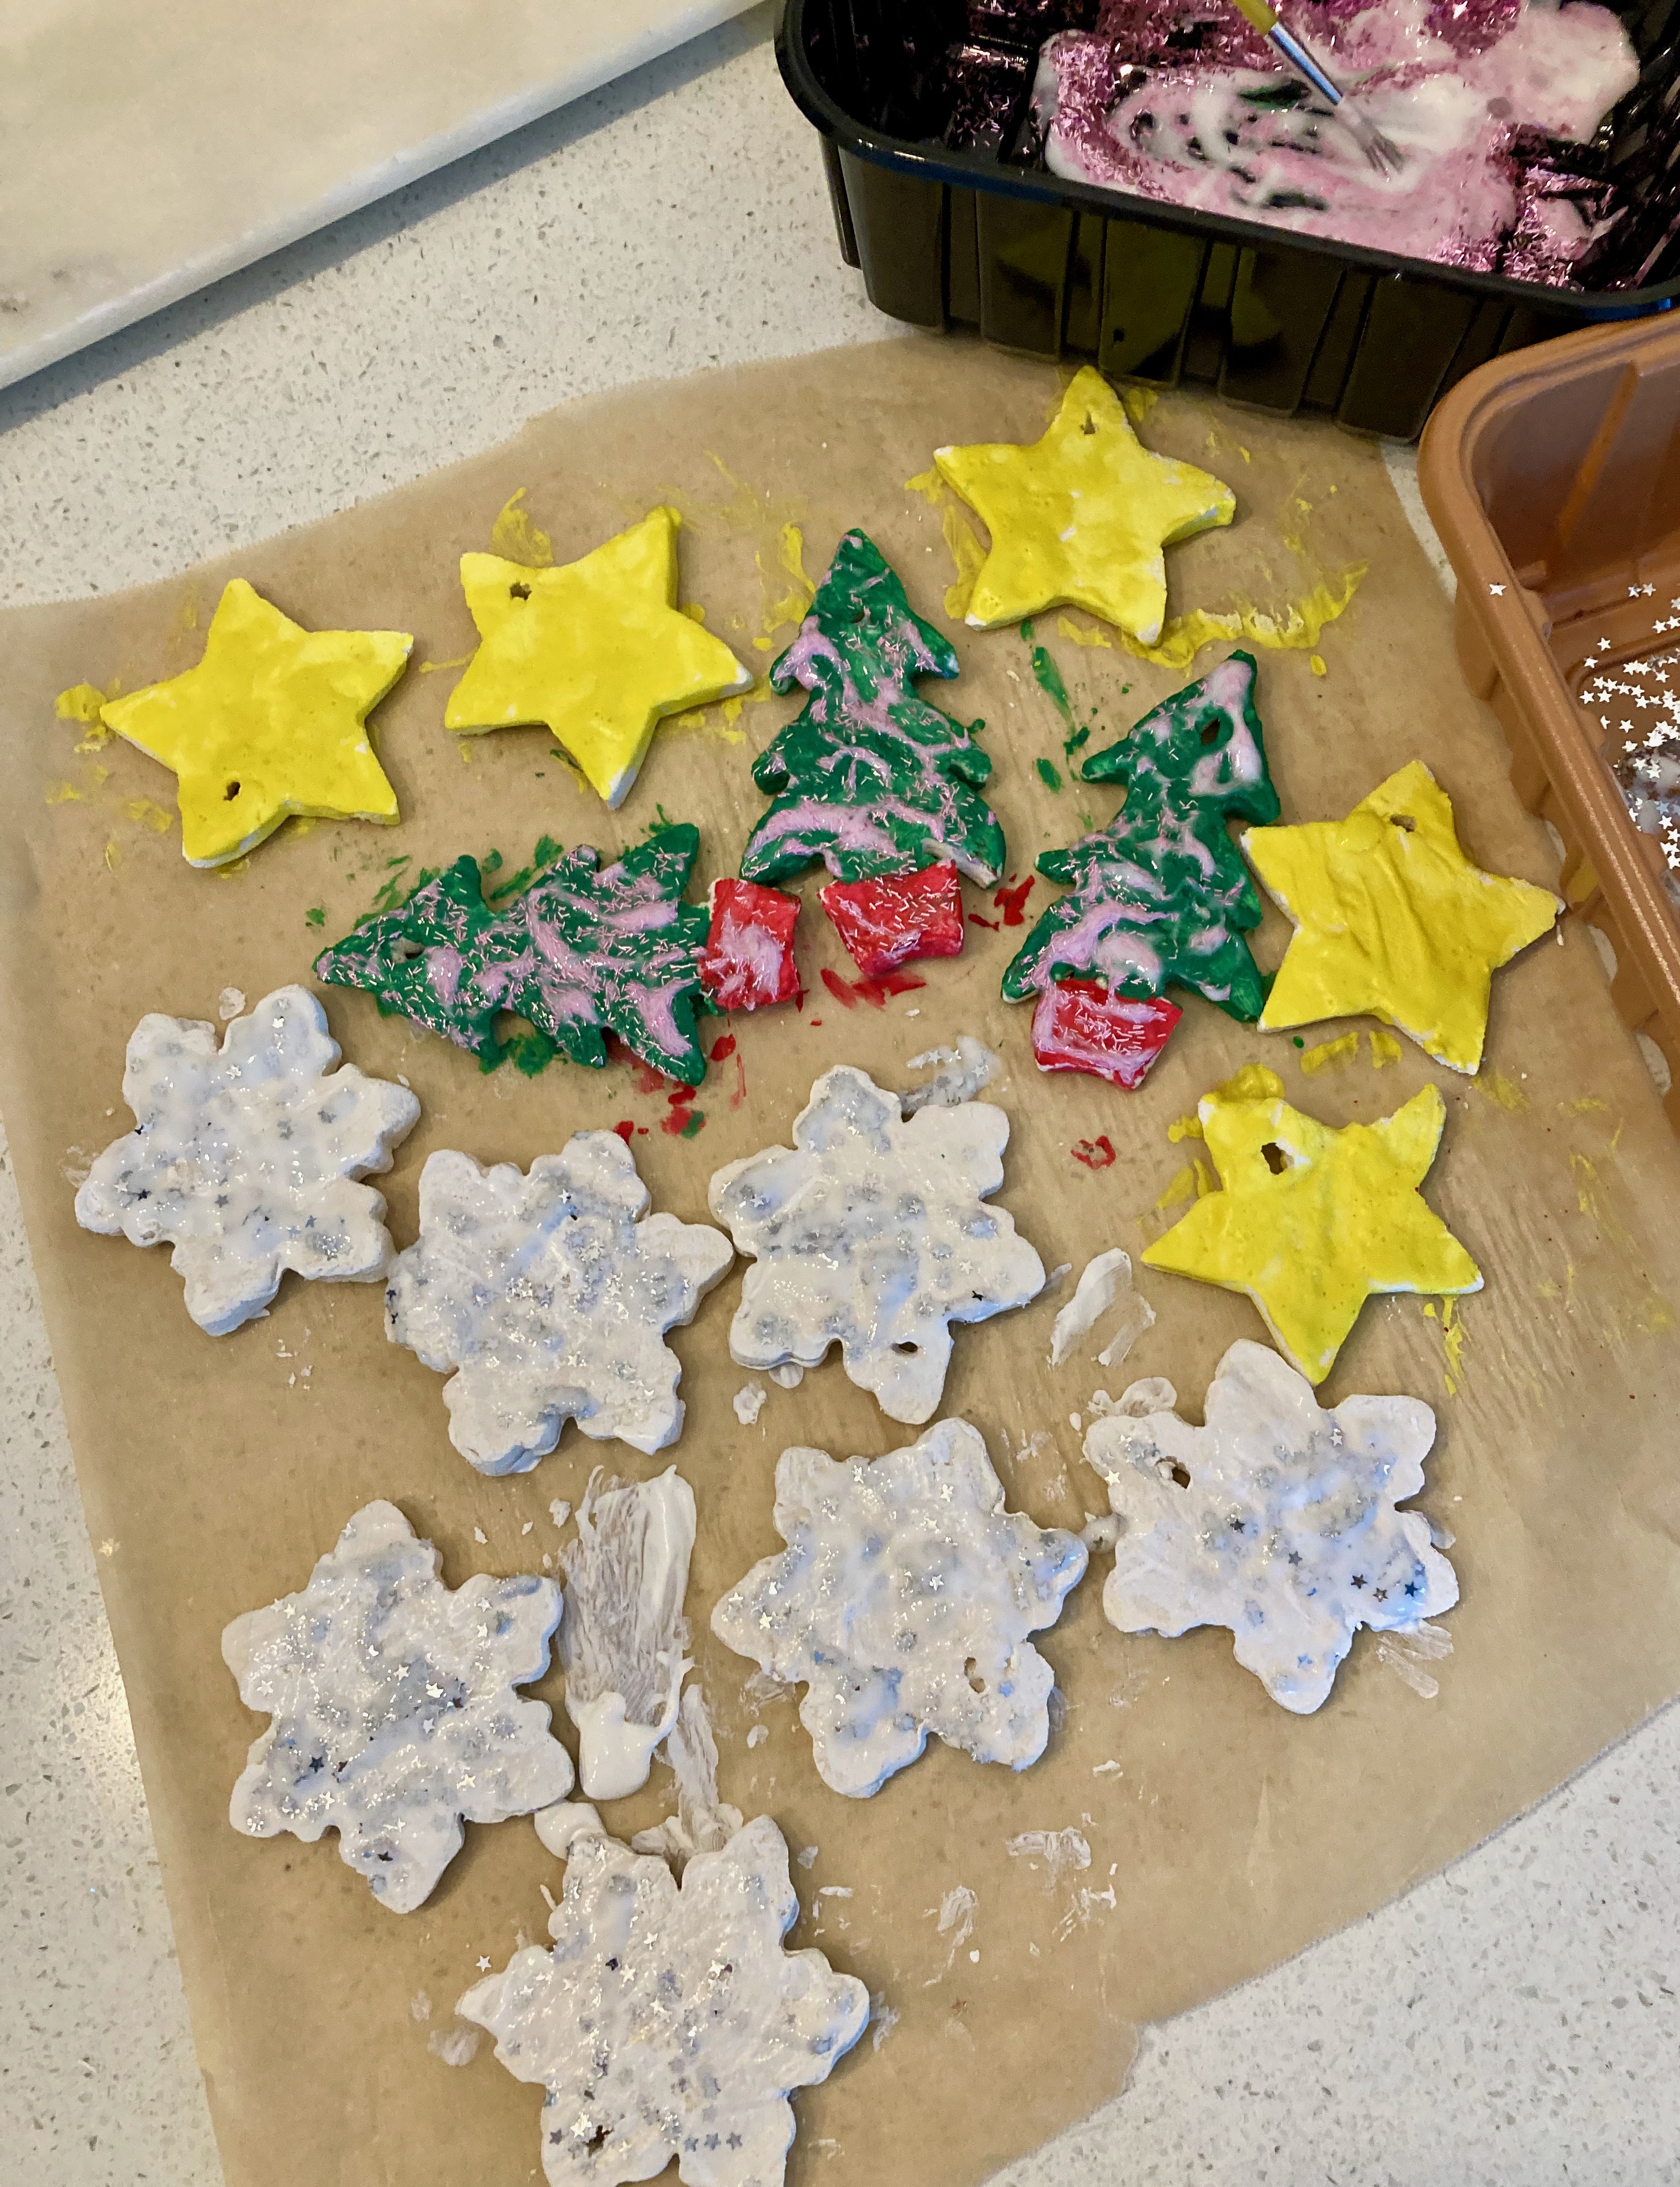
All that was left to do was thread ribbon or wool through the holes and get busy hanging our ornaments.
Activity develops:
Fine motor skills and Hand-eye co-ordination:
Rolling, cutting, manipulating and painting the dough help to strengthen finger and hand muscles and develop hand-eye co-ordination.
Language skills:
Making and decorating salt dough provides an opportunity for developing listening and instruction following skills. Vocabulary can also be developed as you introduce and use words like roll, cut, red, blue, rolling pin.
Science exploration:
As your child manipulates the dough, they will begin to discover that they can change the shape of some materials by squashing, rolling, twisting and stretching etc.
Creativity
Other posts you might like:
